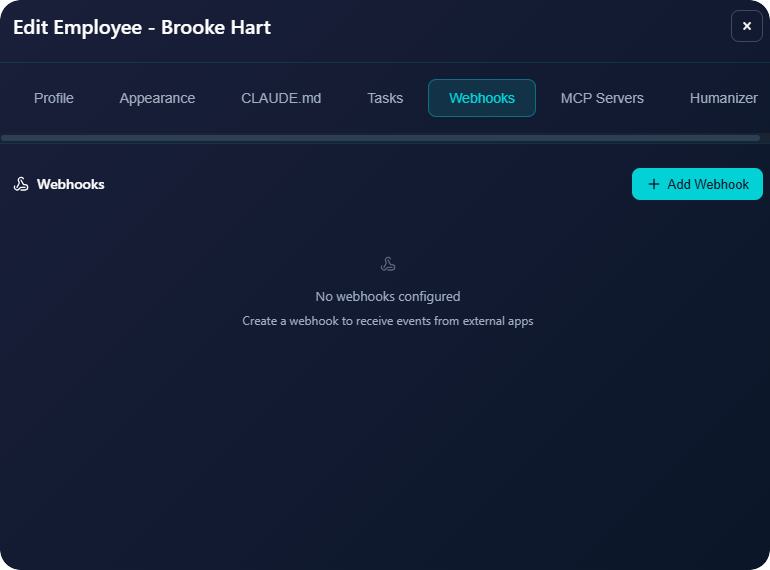
Webhooks
Create webhooks to receive events from external services. When a webhook is triggered, your AI employee receives the payload and can act on it automatically.
How It Works
- Create a webhook in the employee settings
- Copy the unique webhook URL
- Configure the external service to send events to this URL
- When an event arrives, it appears in the chat and the employee processes it
Creating a Webhook
To create a webhook for an employee:
- Go to Edit Employee → Webhooks tab
- Click Add Webhook
- Enter a name (e.g., "Uptime Monitor", "Stripe Payments")
- Click Create Webhook
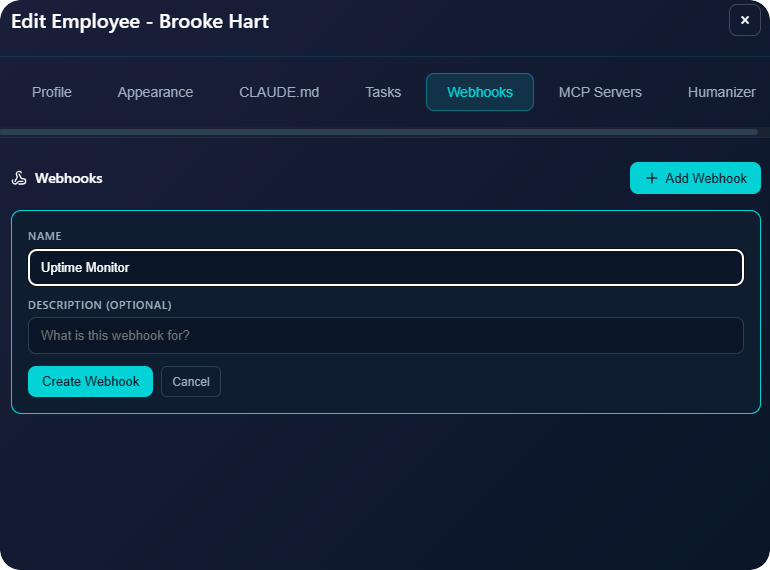
- Copy the webhook URL and secret
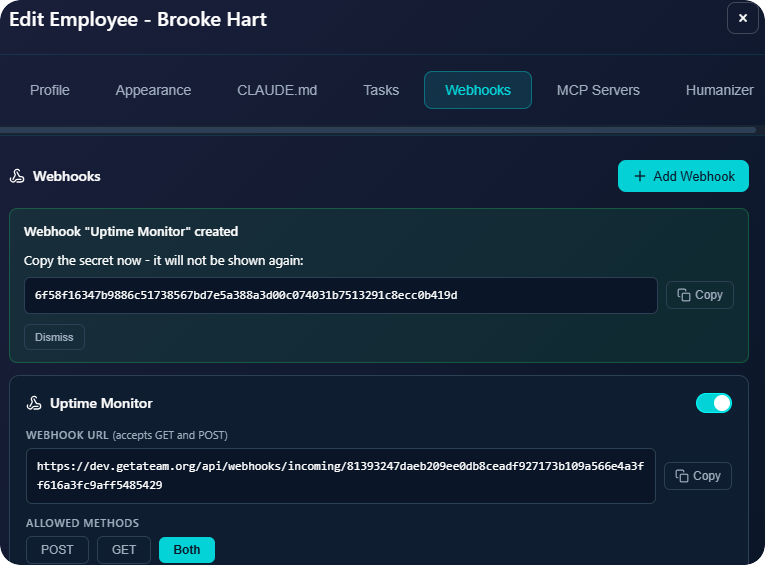
Webhook Configuration
| Setting | Description |
|---|---|
| Allowed Methods | POST, GET, or Both - which HTTP methods to accept |
| Secret | Used for HMAC signature verification (optional) |
| Custom Prompt | Instructions sent to the employee when webhook fires |
| Response Body | JSON response returned to the caller |
Custom Prompt
The custom prompt tells your employee what to do when this webhook fires. For example:
- "The monitored site is down. Check the status code and duration. Draft an incident report and send an email alert."
- "A new payment was received. Update the CRM and send a thank you email."
- "A form was submitted. Qualify the lead and add to the sales pipeline."
Use Cases
- Uptime monitoring - UptimeRobot, Pingdom send alerts when sites go down
- Payment events - Stripe sends payment success/failure notifications
- Form submissions - Typeform, JotForm send new submissions
- Scheduled tasks - Cron services trigger webhooks on a schedule
- CRM events - HubSpot, Salesforce notify on deal changes
Signature Verification
Each webhook has a secret for HMAC-SHA256 signature verification. The external service can sign requests using this secret, and GetATeam will verify the signature before processing.
Unlimited Webhooks
You can create as many webhooks as needed per employee. Each has its own URL, secret, and custom prompt.